Choosing the right flooring can make or break a renovation project. It’s underfoot in every room, takes daily abuse, and sets the visual tone for your entire home. Whether you’re dealing with worn-out carpet or planning a full remodel, understanding your options helps you pick flooring that fits your lifestyle, budget, and skill level. Some installations are weekend DIY projects: others need a pro with specialized tools. This guide breaks down the most popular flooring types available in 2026, what they cost, where they work best, and what you need to know before you buy.
Table of Contents
ToggleKey Takeaways
- Hardwood flooring remains the gold standard for resale value, but engineered hardwood is better for moisture-prone areas like basements and over concrete slabs.
- Luxury vinyl plank (LVP) is the easiest DIY flooring option with click-lock installation, waterproof cores, and costs $2–$7 per square foot, making it ideal for kitchens and high-moisture areas.
- Porcelain tile is the most durable choice for bathrooms and kitchens, resisting scratches and moisture, though professional installation and proper waterproofing membranes are essential for longevity.
- Laminate flooring offers budget-friendly house flooring ideas at $1–$5 per square foot with floating installation, but it’s not waterproof and cannot be refinished, making it unsuitable for bathrooms.
- Proper subfloor preparation—flat within 3/16 inch over 10 feet—is critical across all flooring types to prevent gaps, cupping, and installation failure.
- Choose flooring based on room moisture levels and traffic: hardwood for living areas, tile or LVP for kitchens and bathrooms, and laminate or engineered hardwood for budget-conscious renovations.
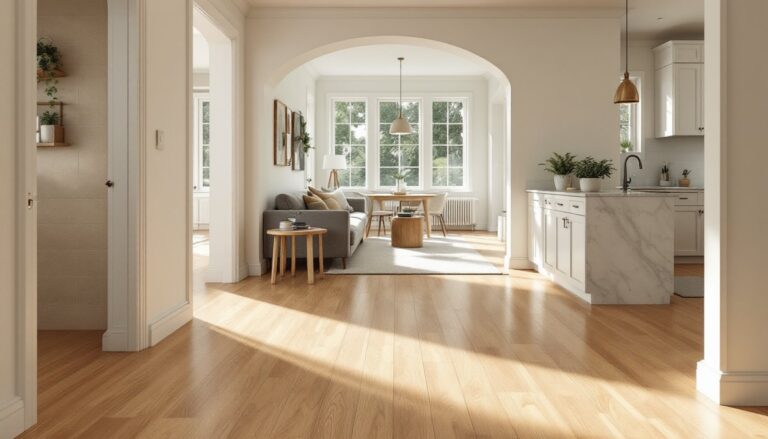
Hardwood Flooring: Timeless Elegance for Any Room
Solid hardwood remains the gold standard for resale value and longevity. Most planks are 3/4 inch thick and come in widths from 2¼ inches (traditional) to 5+ inches (contemporary). Common species include red oak, white oak, maple, and hickory. Expect to pay $6–$12 per square foot for materials, plus installation if you’re not nailing or stapling it yourself.
Engineered hardwood uses a thin hardwood veneer over a plywood core, making it more stable in basements or over concrete slabs where solid wood can warp. It’s often compatible with floating installations and radiant heat. Thickness ranges from 3/8 to 3/4 inch: thicker wear layers allow for refinishing.
Installation requires a pneumatic flooring nailer (rental around $40/day), moisture meter, and table saw or miter saw for cuts. Subfloor must be flat within 3/16 inch over 10 feet per IRC guidelines. Hardwood needs to acclimate in the room for 72 hours minimum before install to match ambient moisture, skip this and you’ll get gaps or cupping.
Finishing options: Pre-finished planks save time but limit stain customization. Site-finished floors require sanding and multiple coats of polyurethane, adding days and dust. Most DIYers handle pre-finished: site finishing is best left to pros with dustless sanders and HVAC-rated air scrubbers.
Skip hardwood in full bathrooms or laundry rooms. Even sealed wood expands with sustained moisture. For high-moisture areas, engineered hardwood with a waterproof core (like WPC) offers better protection but still isn’t bulletproof.
Luxury Vinyl Plank: The Perfect Balance of Style and Durability
Luxury vinyl plank (LVP) has improved dramatically since the thin peel-and-stick vinyl of the ’90s. Modern LVP uses a wear layer (measured in mils: 12–20 mil for residential, 20+ for commercial), a photographic print layer, a rigid or flexible core, and an underlayment pad. It mimics wood or stone convincingly and costs $2–$7 per square foot.
Two main types: WPC (wood-plastic composite) and SPC (stone-plastic composite). WPC is softer underfoot, warmer, and slightly more forgiving on uneven subfloors. SPC is denser, more dent-resistant, and better for high-traffic zones or commercial settings. Both are 100% waterproof in the core, but seams can wick water if not properly locked.
Most LVP uses a click-lock floating system, making it the easiest floor for DIYers. No glue, no nails, just a tapping block, pull bar, and utility knife. Cuts with a vinyl cutter or score-and-snap method. You’ll need a 1/4-inch expansion gap around the perimeter: rigid floors expand and contract with temperature.
LVP works over concrete, existing vinyl, and even low-profile tile if the surface is smooth. If your subfloor dips more than 3/16 inch over 10 feet, self-leveling compound is required. Many homeowners considering broader updates find renovation projects benefit from addressing subfloor prep early.
Downside: LVP can’t be refinished. Once the wear layer is gone, it’s replacement time. Quality varies wildly: budget products feel plasticky and dent easily. Check the wear layer thickness and ensure the product meets FloorScore or Greenguard certification for low VOC emissions.
Tile Flooring: Versatile Solutions for High-Traffic Areas
Ceramic and porcelain tile handle moisture, scratches, and heavy foot traffic better than any other flooring. Porcelain is denser (water absorption under 0.5%) and suited for freeze-thaw climates or outdoor use. Ceramic is softer, easier to cut, and less expensive, $1–$15 per square foot for materials, depending on size and finish.
Tile sizes have grown. 12×24-inch planks mimic wood, while large-format tiles (24×48 or bigger) reduce grout lines for a seamless look. Larger tiles require flatter subfloors and more careful layout. Smaller mosaics or hexagons add character but multiply labor.
Installation is intermediate-to-advanced. You’ll need a wet tile saw (rent $50–$70/day), notched trowel (size depends on tile dimensions), level, and tile spacers. Use modified thinset over cement board or unmodified thinset over uncoupling membranes like Schluter-DITRA. Mix to a peanut-butter consistency: too wet and tiles sag, too dry and they don’t bond.
Grout choice matters. Unsanded grout for joints under 1/8 inch, sanded for wider. Epoxy grout resists stains and moisture but is harder to work with and costs more. Seal cement-based grout annually in showers or entryways. For expert guidance on installation techniques, experienced builders recommend testing layouts dry before committing to thinset.
Radiant heat compatibility: Tile conducts heat beautifully. If you’re installing electric or hydronic radiant, embed it in thinset below the tile. Timber subfloors need cement backer board: concrete slabs can take tile directly if they’re clean and level.
Tile is cold and hard underfoot. Use rugs in bedrooms or standing zones. Dropped glassware doesn’t survive.
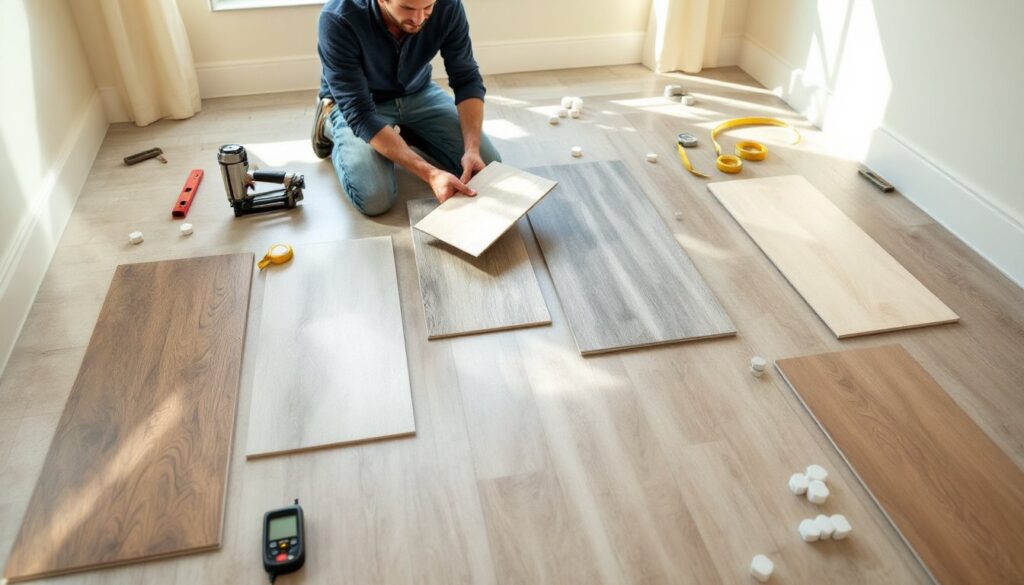
Laminate Flooring: Budget-Friendly Beauty That Lasts
Laminate uses a photographic image of wood or stone bonded to a high-density fiberboard (HDF) core, topped with a clear wear layer. It costs $1–$5 per square foot, often half the price of engineered hardwood, and installs similarly via click-lock floating systems.
AC rating (Abrasion Criteria) indicates durability. AC3 suits moderate residential traffic: AC4 handles general commercial or busy homes: AC5 is heavy commercial. Most big-box stores stock AC3–AC4. Thicker laminate (10–12 mm) feels more solid and muffles sound better than budget 7 mm planks.
Laminate isn’t waterproof. The HDF core swells if soaked, and it won’t dry back to shape. Some newer products add water-resistant coatings or wax-sealed edges, but they’re moisture-resistant, not moisture-proof. Don’t use laminate in bathrooms or basements prone to flooding.
Installation is straightforward: same tools as LVP (tapping block, pull bar, underlayment with vapor barrier). Laminate is louder than LVP, add a foam or cork underlayment with sound-dampening properties (IIC and STC ratings). You’ll also need that 1/4-inch expansion gap: laminate expands more than vinyl.
Limitations: Laminate can’t be refinished or sanded. Scratches go through the wear layer to the photo image. It can feel hollow underfoot compared to real wood. But for rentals, flip projects, or tight budgets, it’s hard to beat. Many first-time renovators pair laminate installation with other beginner-friendly updates to build skills without major financial risk.
Choosing the Right Flooring for Each Room in Your Home
Not every floor works in every space. Moisture, traffic, subfloor type, and how you use the room all dictate the best choice.
Best Flooring Options for Kitchens and Bathrooms
Kitchens see spills, dropped utensils, and standing work. Porcelain tile and LVP are top picks. Tile is indestructible but cold: add a cushioned mat at the sink. LVP is warmer, softer on dropped dishes, and fast to install. Avoid solid hardwood, water splashes near sinks and dishwashers lead to cupping. Engineered hardwood with a waterproof core is acceptable if you’re diligent about wiping spills. Current trends covered by resources like This Old House show growing preference for large-format tile with minimal grout in modern kitchens.
Bathrooms demand waterproof flooring. Porcelain tile remains the standard, especially 12×24-inch plank tile that mimics wood. Use a waterproofing membrane (Schluter-KERDI or RedGard) below the tile in wet areas per IRC R307. LVP works in powder rooms or master baths if seams are tight and the floor isn’t routinely soaked. Laminate is a poor choice: even “water-resistant” laminate will fail around toilets and tubs.
Safety note: Wet tile is slippery. Choose textured or matte-finish porcelain, and make sure your grout is sealed. Install GFCI outlets per NEC 210.8 if you’re doing electrical work during the reno.
Ideal Flooring Choices for Living Rooms and Bedrooms
Living rooms and bedrooms prioritize comfort, aesthetics, and sound. Hardwood, solid or engineered, adds resale value and can be refinished multiple times. If you have radiant heat or a concrete slab, engineered hardwood or LVP are better bets. Laminate works but feels less premium.
Carpet still has a place in bedrooms for warmth and sound dampening, especially in multi-story homes or condos where impact noise is a concern. If you go carpet, choose low-VOC products with a separate pad (6–8 lb density). Carpet isn’t DIY-friendly for most homeowners, installation requires a knee kicker, power stretcher, and seaming iron.
For homes with kids or pets, LVP offers a middle ground: softer and quieter than tile, tougher and more cleanable than carpet. Scratch-resistant coatings handle claws better than laminate. Resources such as the Family Handyman flooring guide showcase pet-friendly products tested in real-world conditions.
Living rooms with large windows and southern exposure see temperature swings. Floating floors (LVP, laminate, engineered hardwood) handle expansion better than glue-down or nail-down installs in these cases. Always leave expansion gaps and use matching T-molding at transitions between rooms.