Flooring sets the tone for every room in a home. It’s the largest surface area anyone sees and touches daily, and it directly influences how spaces feel, open and airy, cozy and grounded, or sleek and industrial. Modern flooring isn’t just about following trends: it’s about choosing materials that balance aesthetics with durability, maintenance, and budget. In 2026, homeowners have access to better-performing products than ever before, from waterproof luxury vinyl that mimics real wood to sustainable bamboo and dramatic polished concrete. This guide walks through six modern flooring ideas that work in real homes, not just magazine spreads.
Table of Contents
ToggleKey Takeaways
- Modern flooring ideas balance aesthetics, durability, and budget, with luxury vinyl plank (LVP) offering a waterproof, cost-effective solution at $2–$6 per square foot for homeowners seeking DIY-friendly options.
- Wide plank hardwood and engineered alternatives provide contemporary minimalism while handling humidity better, making them ideal for open floor plans when paired with matte or low-sheen finishes.
- Polished concrete delivers industrial-modern appeal and requires professional installation, but offers decades of durability and pairs beautifully with radiant floor heating for contemporary spaces.
- Large format tiles (12×24 inches or larger) create seamless modern looks with fewer grout lines and are available in finishes mimicking marble, concrete, and wood—ideal for high-moisture areas when properly installed.
- Sustainable flooring options, including FSC-certified wood, reclaimed hardwood, bamboo, and cork, allow eco-conscious homeowners to reduce environmental impact without sacrificing style or performance.
- Mixed material flooring creates visual interest and defines functional zones in open-plan layouts, but limiting combinations to two or three materials and aligning transitions with natural breaks ensures a polished, intentional result.
Luxury Vinyl Plank: The Budget-Friendly Waterproof Winner
Luxury vinyl plank (LVP) has surged in popularity for good reason: it’s waterproof, DIY-friendly, and looks convincing. Modern LVP uses high-definition printing and textured wear layers to replicate hardwood grain and even tile patterns. The best products include an attached underlayment and click-lock installation, making them accessible for confident DIYers.
Look for wear layer thickness of at least 12 mil for residential use: 20 mil is better for high-traffic areas like kitchens and entryways. The core material matters too, rigid core (SPC or WPC) planks resist dents and temperature changes better than standard flexible vinyl. SPC (stone plastic composite) is denser and works well over uneven subfloors, while WPC (wood plastic composite) has a slightly softer feel underfoot.
Installation requires a clean, flat subfloor. LVP is forgiving, but any dips or humps greater than 3/16 inch over a 10-foot span will telegraph through. Use self-leveling compound if needed. Acclimate planks to the room for 48 hours before installation to prevent expansion gaps that are too tight or too wide.
Maintenance is minimal: sweep regularly and damp-mop with a pH-neutral cleaner. Avoid steam mops, which can infiltrate seams and degrade the adhesive over time. LVP typically costs $2–$6 per square foot for materials, making it one of the most cost-effective modern flooring options when factoring in longevity and water resistance.
Wide Plank Hardwood for Contemporary Minimalism
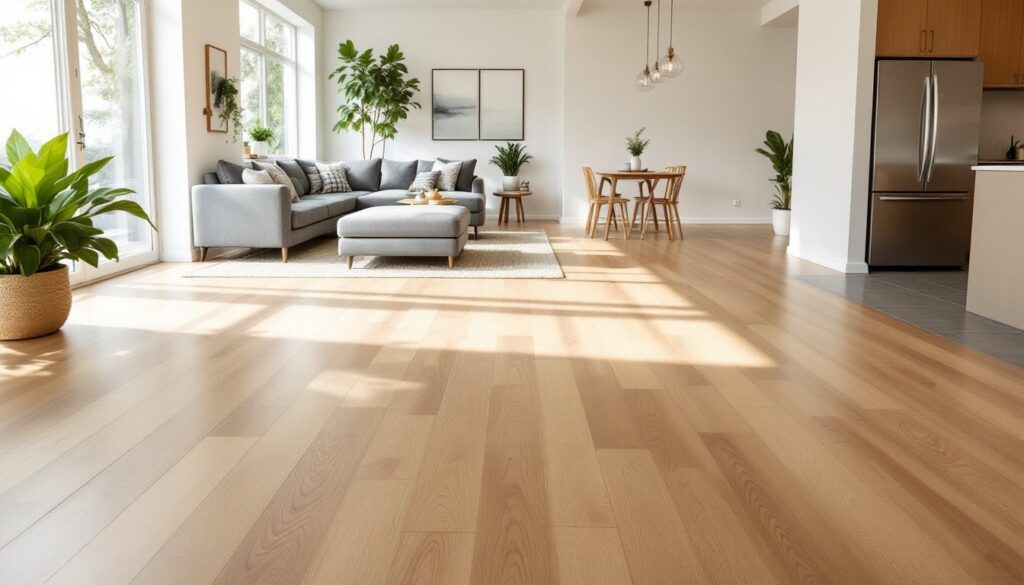
Wide plank hardwood, typically 5 to 8 inches wide or more, creates a clean, expansive look that’s central to contemporary and Scandinavian design. The wider boards show off the natural grain with fewer seams, giving rooms a calm, uncluttered feel. White oak, European oak, and walnut are popular species in 2026, often finished with matte or low-sheen coatings instead of high-gloss polyurethane.
Engineered hardwood is often a smarter choice than solid for wide planks. It’s more dimensionally stable, meaning it handles humidity swings without cupping or crowning as readily. Engineered planks consist of a hardwood veneer (usually 2–6 mm thick) over a plywood or HDF core. They can be installed as a floating floor, glued down, or nailed, and many are compatible with radiant heat systems.
Choosing the right finish matters for longevity. Hard-wax oil finishes are trendy for their natural look and easy spot repair, but they require reapplication every few years. UV-cured urethane offers better durability with less maintenance. Many homeowners are integrating wide plank hardwood as part of broader home renovation ideas that emphasize natural materials and open floor plans.
Installation demands precision. Acclimate the wood in the space for at least 72 hours. Subfloor must be flat, dry, and structurally sound. For floating installations, use a quality underlayment with a moisture barrier. Expect to pay $6–$14 per square foot for materials, plus another $3–$8 per square foot for professional installation if you’re not confident in your miter saw and nailer skills.
Polished Concrete Floors for Industrial-Modern Spaces
Polished concrete delivers a raw, industrial aesthetic that pairs beautifully with exposed brick, steel accents, and minimalist furniture. It’s not just for lofts, homeowners are using it in open-plan living areas, basements, and even bedrooms when paired with area rugs for warmth.
True polished concrete involves grinding the surface with progressively finer diamond abrasives, then treating it with a chemical densifier to harden and seal the surface. The result is a low-maintenance, durable floor that can last decades. The finish level ranges from matte (less reflective, hides imperfections) to high-gloss (mirror-like, shows every flaw).
This is not a DIY-friendly project for most homeowners. Professional grinders are expensive to rent and difficult to control without experience. Dust control is critical: even with a vacuum attachment, silica dust is a serious respiratory hazard. Hire a licensed concrete polishing contractor who uses OSHA-compliant dust extraction and can assess whether your existing slab is a good candidate. Slabs with significant cracking, spalling, or a rough trowel finish may need repair or overlay before polishing.
Radiant floor heating integrates beautifully with polished concrete, install the tubing before the slab is poured or use a thin overlay system if retrofitting. Concrete’s thermal mass stores and releases heat efficiently, making it comfortable underfoot even in winter. Many designers highlight polished concrete in modern flooring ideas that prioritize clean lines and minimal transitions between spaces.
Costs vary widely based on slab condition and finish level: expect $3–$8 per square foot for basic grinding and sealing, up to $15 per square foot for decorative scoring, staining, or high-gloss finishes. Factor in the need for climate control during installation, temperature and humidity affect curing and final appearance.
Large Format Tiles: Sleek and Low-Maintenance
Large format tiles, generally 12×24 inches or larger, create a seamless, modern look with fewer grout lines. Porcelain and ceramic tiles in this size range are durable, water-resistant, and available in finishes that mimic marble, concrete, and even wood planks. Rectified edges (precision-cut, perfectly square) allow for tight grout joints as narrow as 1/16 inch, enhancing the clean, continuous appearance.
Porcelain tile is denser and less porous than ceramic, making it a better choice for high-moisture areas like bathrooms and mudrooms. Look for a PEI rating of 3 or higher for residential floors: PEI 4 or 5 is ideal for heavy traffic. Larger tiles are heavier and more prone to lippage (uneven edges) if the subfloor isn’t perfectly flat. Use a self-leveling compound and a notched trowel sized appropriately for the tile thickness, usually 1/2 inch or larger for big-format tiles.
Installation requires a tile leveling system (clips and wedges) to keep adjacent tiles flush during curing. Back-buttering each tile with thinset plus to combing the subfloor ensures full coverage and prevents voids that can lead to cracking. This is a job best suited for intermediate to advanced DIYers: improper thinset coverage is the leading cause of tile failure.
Grout choice affects both appearance and maintenance. Epoxy grout is stain-resistant and doesn’t require sealing, but it’s trickier to work with and more expensive. Standard cement grout needs sealing annually to resist moisture and staining. Large format tiles generally cost $3–$12 per square foot depending on the material and finish, with professional installation adding another $5–$10 per square foot.
Sustainable Flooring Options for Eco-Conscious Homes
Sustainable flooring has moved beyond niche eco-products into mainstream home design. Materials like reclaimed hardwood, FSC-certified wood, and rapidly renewable resources offer environmental benefits without sacrificing style or durability. Homeowners exploring home renovation ideas and techniques often prioritize low-VOC finishes and responsibly sourced materials.
Reclaimed hardwood salvaged from old barns, factories, or demolished homes carries unique character, saw marks, nail holes, and color variation that’s impossible to replicate. It’s typically more expensive than new wood due to labor-intensive milling and de-nailing, but the environmental payoff is significant: no new trees harvested, and embodied energy is minimal. Verify that reclaimed wood is kiln-dried and inspected for pests before installation.
FSC-certified hardwood ensures the material comes from responsibly managed forests. Look for the FSC logo and chain-of-custody documentation, especially for species like walnut and oak. Some manufacturers now offer carbon-neutral flooring, offsetting emissions from production and shipping through verified reforestation programs.
For installation and finishing, choose low-VOC or zero-VOC adhesives and sealers to improve indoor air quality. Water-based polyurethane and hard-wax oils are better choices than solvent-based finishes. Many sustainable flooring products qualify for LEED points if building or renovating to green building standards.
Bamboo and Cork Alternatives
Bamboo is technically a grass, not a wood, and it matures in 3–5 years compared to 20+ years for hardwood. Strand-woven bamboo is the densest and most durable option, with a Janka hardness rating often exceeding red oak. It’s available in planks or click-lock engineered formats. Be cautious of cheap imports: quality varies widely, and some products are finished with high-formaldehyde adhesives. Look for FloorScore or GreenGuard certification.
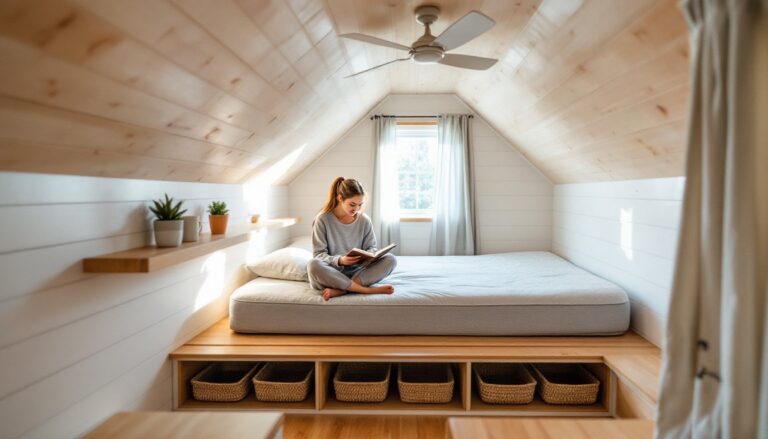
Cork flooring is harvested from the bark of cork oak trees without killing the tree, and the bark regenerates every 9 years. Cork is naturally antimicrobial, warm underfoot, and has excellent sound-dampening properties, ideal for second-story bedrooms or condos. It’s softer than hardwood, so it will show dents from furniture and pet claws, but many homeowners appreciate the lived-in patina. Cork must be sealed properly to resist moisture: use polyurethane or wax finishes and reseal every few years.
Both bamboo and cork can be installed as floating floors, making them accessible DIY projects. Expect to pay $3–$8 per square foot for quality bamboo or cork, comparable to mid-range engineered hardwood.
Mixed Material Flooring for Visual Interest
Combining flooring materials in a single space, often called transition flooring or material zoning, adds visual interest and defines functional areas without walls. It’s common in open-plan layouts where the kitchen, dining, and living areas flow together. Done well, mixed flooring creates subtle boundaries and highlights architectural features. Done poorly, it looks chaotic and dated.
Best practices for mixing materials:
- Limit to two or three materials maximum. More than that feels cluttered. Pair hardwood with tile, or LVP with carpet, but avoid combining four different surfaces in one sightline.
- Use consistent color tones or contrasting finishes intentionally. A light oak paired with matte black tile can look striking: mismatched wood tones rarely work unless one is a clear accent (like a herringbone inlay).
- Align transitions with natural breaks. Place the seam where a kitchen meets a hallway, under a doorway, or along the edge of an island. Avoid diagonal or curved transitions unless you’re working with a designer who can justify it architecturally.
- Match floor heights. Uneven transitions are a tripping hazard and look unfinished. Use transition strips (T-molding, reducers, or thresholds) to bridge height differences cleanly. Metal or wood profiles work better than plastic in modern homes.
A popular modern combo is wide plank hardwood in living areas with large format tile in the kitchen and baths. Both materials have a low-profile, contemporary look, and the tile provides water resistance where it’s needed most. Another approach seen in contemporary home designs is polished concrete in main living spaces with area rugs and LVP in bedrooms for warmth and sound insulation.
Installation sequencing matters. Typically, tile goes down first (it’s rigid and establishes the floor height), then hardwood or LVP is installed to meet it. Leave appropriate expansion gaps, 1/4 to 1/2 inch, especially for floating floors. Designers often recommend involving a home renovation professional when planning complex transitions to avoid costly mistakes that disrupt the flow of a space.
Mixed flooring can be a DIY project if each section is within a homeowner’s skill range and transitions are planned carefully. Budget for extra material waste (usually 10–15% instead of the standard 5–10%) and factor in the cost of quality transition strips, which range from $10–$50 per piece depending on material and length.